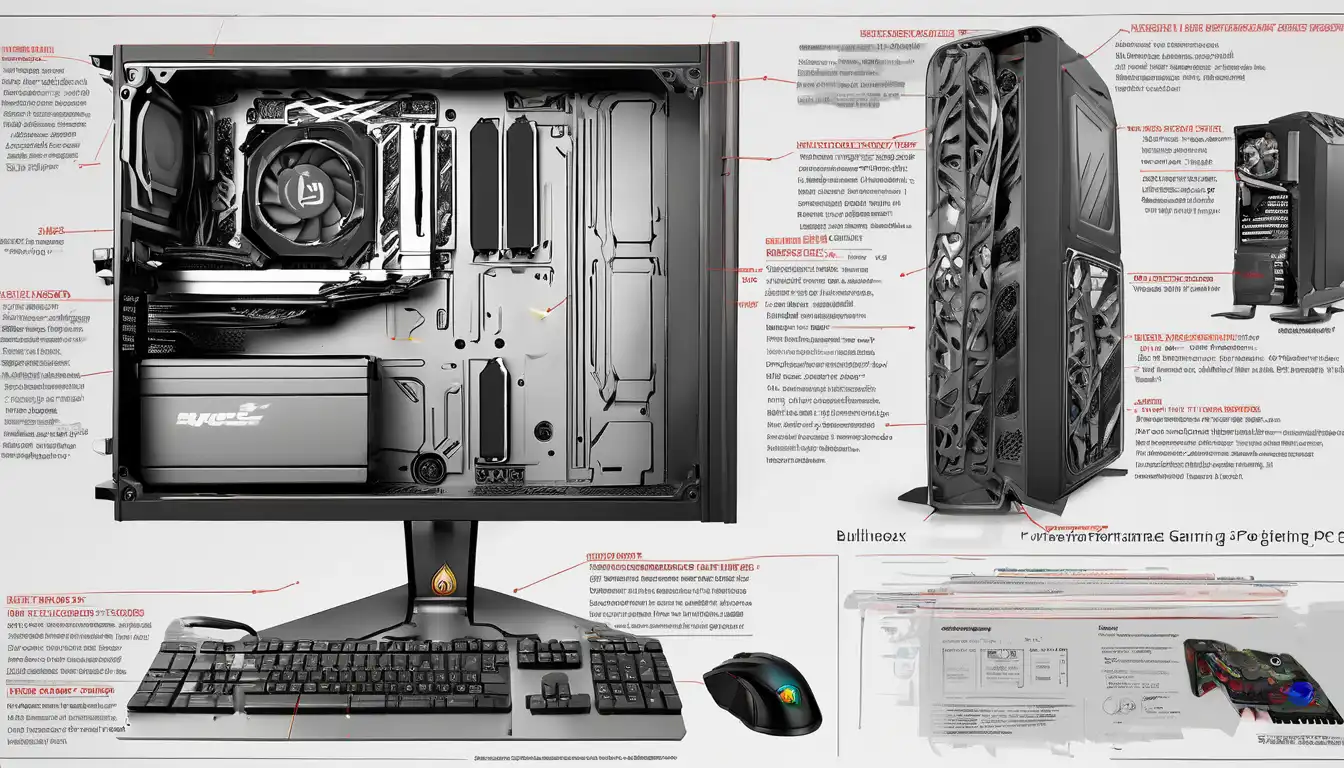
Introduction to High-Performance Gaming PC Assembly
Building a high-performance gaming PC represents one of the most rewarding experiences for any gaming enthusiast. Unlike pre-built systems, custom-built computers offer unparalleled flexibility, allowing you to select each component based on your specific gaming requirements and budget constraints. This comprehensive guide will walk you through the entire process of creating a powerful gaming rig that delivers exceptional performance across all your favorite titles.
The journey begins with understanding your gaming needs and establishing a realistic budget. Whether you're aiming for 4K gaming at maximum settings or seeking smooth 1440p performance, proper planning ensures you allocate resources effectively across all components. Remember that building a gaming PC is not just about raw power—it's about creating a balanced system where each part complements the others for optimal performance.
Essential Components for Your Gaming Build
Central Processing Unit (CPU)
The CPU serves as the brain of your gaming PC, handling game logic, physics calculations, and AI processing. For modern gaming builds, we recommend processors from Intel's Core i7/i9 series or AMD's Ryzen 7/9 series. These multi-core processors provide the necessary horsepower for demanding games while ensuring smooth background task management. When selecting your CPU, consider factors like core count, clock speed, and compatibility with your chosen motherboard.
Graphics Processing Unit (GPU)
Arguably the most critical component for gaming performance, the GPU determines your visual quality and frame rates. High-end options like NVIDIA's RTX 40-series or AMD's RX 7000-series deliver exceptional performance for 4K gaming and ray tracing. For budget-conscious builders, mid-range cards still offer excellent 1440p performance. Always match your GPU selection with your monitor's resolution and refresh rate requirements.
Memory (RAM)
Modern gaming systems benefit significantly from 16GB to 32GB of DDR4 or DDR5 RAM. Faster memory speeds can improve frame rates in CPU-bound scenarios, while adequate capacity ensures smooth multitasking. For optimal performance, install RAM in dual-channel configuration and enable XMP/EXPO profiles in your BIOS. Consider future upgradeability when selecting your memory kit.
Storage Solutions
NVMe SSDs have become the standard for gaming builds, offering lightning-fast load times and system responsiveness. A 1TB NVMe SSD provides ample space for your operating system and frequently played games, while additional SATA SSDs or HDDs can handle media storage and less demanding applications. Implementing a tiered storage strategy maximizes both performance and value.
Power Supply Unit (PSU)
Never compromise on your power supply—it's the foundation of system stability. Select a PSU with 80 Plus Gold certification or higher from reputable brands like Seasonic, Corsair, or EVGA. Calculate your system's power requirements and add 20-30% headroom for future upgrades. Modular PSUs simplify cable management, contributing to better airflow and aesthetics.
Motherboard Selection
Your motherboard determines compatibility with other components and provides essential features like connectivity options and expansion slots. Choose a motherboard that matches your CPU's socket type and offers the ports and features you need. Consider factors like VRM quality, PCIe slot configuration, and onboard audio capabilities when making your selection.
Cooling Solutions
Effective cooling maintains performance and extends component lifespan. Air coolers offer reliable performance at lower price points, while all-in-one liquid coolers provide superior thermal management for overclocked systems. Proper case airflow, achieved through strategic fan placement, is equally important for overall system cooling.
Step-by-Step Assembly Process
Preparation and Safety
Begin by gathering all necessary tools and components in a static-free workspace. Use an anti-static wrist strap to prevent electrostatic discharge damage. Read through all component manuals before starting assembly to familiarize yourself with specific installation requirements.
Motherboard Preparation
Install the CPU, RAM, and M.2 SSD onto the motherboard before mounting it in the case. Apply thermal paste carefully if using an aftermarket cooler. These pre-installation steps are significantly easier with the motherboard outside the case and reduce the risk of damaging components during assembly.
Case Preparation and Component Installation
Remove side panels and install the I/O shield from your motherboard kit. Mount the power supply following the case manufacturer's guidelines. Carefully lower the prepared motherboard into the case, aligning it with standoffs before securing with screws. Install storage drives in designated bays and connect necessary power and data cables.
Cable Management and Final Connections
Route cables neatly along designated channels to optimize airflow and maintain a clean appearance. Connect front panel headers, USB ports, and audio jacks according to your motherboard manual. Double-check all power connections before proceeding to system testing.
System Configuration and Optimization
BIOS/UEFI Setup
Upon first boot, enter your motherboard's BIOS/UEFI interface to configure essential settings. Enable XMP/EXPO profiles for RAM, set boot priorities, and configure fan curves for optimal cooling. Update to the latest BIOS version if necessary for improved stability and compatibility.
Operating System Installation
Create a bootable USB drive with your preferred operating system. Windows 10 or 11 remains the standard for gaming PCs due to broad compatibility and driver support. During installation, format your primary SSD and follow on-screen instructions for a clean setup.
Driver Installation and System Updates
Install latest drivers for your GPU, chipset, and other components from manufacturer websites. Windows Update will handle most essential drivers, but manual installation ensures you have the most recent versions for optimal performance. Configure Windows power settings for high performance.
Performance Testing and Benchmarking
Use benchmarking tools like 3DMark or Unigine Heaven to validate system stability and performance. Monitor temperatures during stress testing to ensure adequate cooling. Game-specific benchmarks help identify any issues before diving into your gaming library.
Advanced Optimization Techniques
Overclocking Considerations
While modern components offer excellent out-of-the-box performance, careful overclocking can extract additional performance. Start with GPU overclocking using tools like MSI Afterburner, then explore CPU overclocking if your cooling solution permits. Always stress test after making changes and monitor temperatures closely.
Software Optimization
Disable unnecessary startup programs and background services to free up system resources. Configure game settings individually based on performance targets—not every game needs maximum settings to look great. Use monitoring software to identify bottlenecks and optimize accordingly.
Maintenance and Future Upgrades
Regular maintenance includes dust removal, driver updates, and storage optimization. Plan for future upgrades by selecting components with upgrade paths in mind. A quality power supply and case can often outlast multiple component generations, providing excellent long-term value.
Troubleshooting Common Issues
Even with careful assembly, issues can arise during initial setup. If your system fails to POST, check all power connections and ensure components are fully seated. No display output often relates to GPU installation or monitor connections. For software issues, safe mode and system restore points provide recovery options without complete reinstallation.
Conclusion: Your Gaming Journey Begins
Building a high-performance gaming PC represents an investment in your gaming future. The knowledge gained during the building process empowers you to troubleshoot issues, perform upgrades, and truly understand how your system operates. Remember that the gaming PC community offers extensive resources for additional guidance and support. For more detailed information on specific components, check out our gaming components comparison guide and troubleshooting resources.
Your custom-built gaming PC will provide years of entertainment and performance, evolving with your gaming needs through strategic upgrades. The satisfaction of gaming on a system you built yourself is an experience no pre-built computer can match. Welcome to the world of custom PC gaming—your ultimate gaming rig awaits!